
DIY Standing Desk
- Jen

- Apr 24, 2020
- 2 min read
Updated: Aug 19, 2025
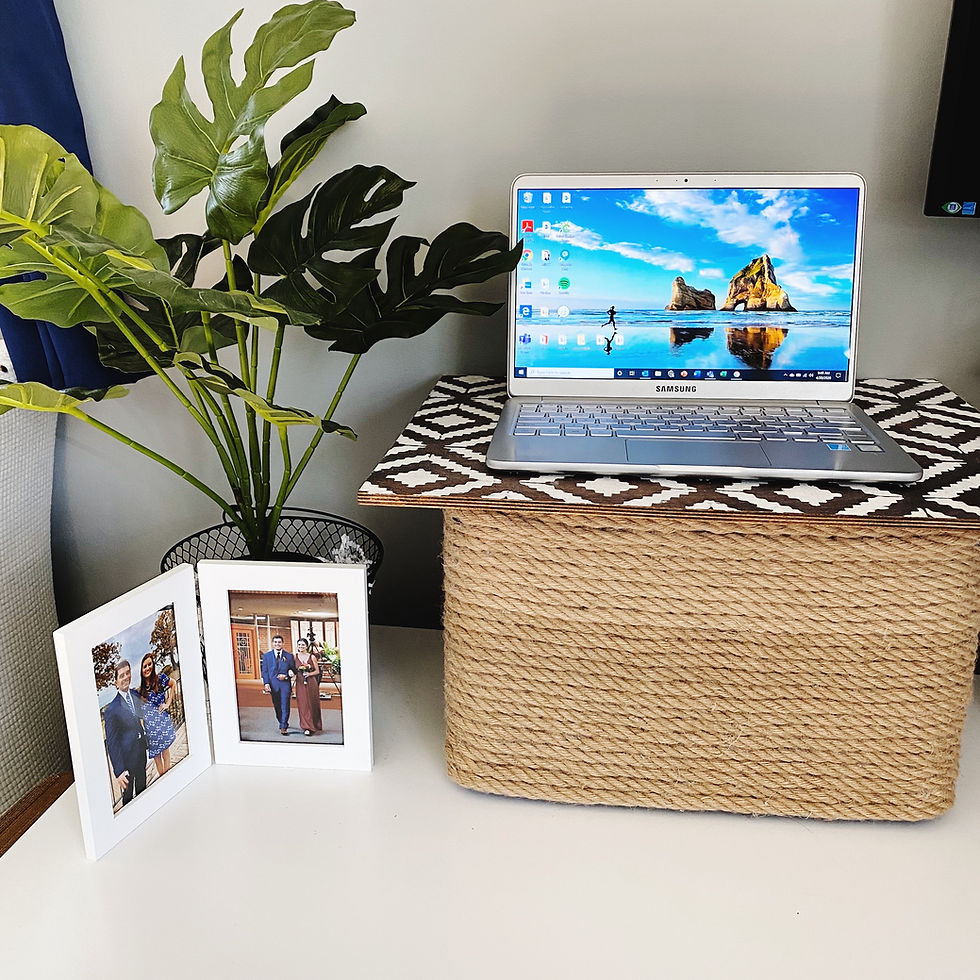
Since a majority of the world is working from home these days, myself included, I decided to make my at-home desk a bit more comfortable and stylish. Here's how I created my DIY Standing Desk.
What I Used:
What I Did:
I first started by hot gluing the jute rope around my milk crate, beginning at the bottom and working my way up.

Once I finished gluing the rope down, I began on the top piece of wood by staining it with my Dark Walnut and letting it sit overnight.
In the meantime I Selected a design offline that I wanted to use on my desk and cut it out using my Cricut Explore Air 2. This is the design I ended up going with. Be sure to make it a stencil so you have the design desired open to be painted. To create a seamless look, I overlapped the corner diamonds on each new section.

Once my stencil was cut and weeded and my stain was dry I began to paint, blowdrying inbetween each section to help speed up the process.


Once the center was completed I began doing the edges, letting the remainder of my stencil hang off the edge.

I let the white paint dry and then used my Modge Podge sealer to protect it. I sprayed the wood three times, completely covering the board each time and allowing time for it to dry inbetween.

Once the Modge Podge was done my new standing desk was ready to be used! Best part, I can use the inside of it to hide any wires or papers when I'm not working to make my desk look clean and tidy!
Enjoy!
If you liked this tutorial and made a standing desk for yourself, I'd love to see it! Comment below, or send us a message.
Thanks for reading!
Jen


Comments